
In middle school, I tried out for the coed soccer team. Now let me preface this story with some background information on myself– I am not now, nor was I then, fond of running for any substantial amount of time. My mindset was that of tripping others to survive a zombie apocalypse if it ever came to it. I also have the reflexes that will cringe and close my eyes if a stray ball comes at my face before it ever occurs to my arms to shield my nose from destruction.
With all that in mind, this friend (who wasn’t particularly “sporty”) asked me to try out with her. I glanced at my feet and decided that since I’m a teacher’s kid who already stays after school and I have sneakers, I might as well go for it.
My friend and I dominated the stretches portion of tryouts (we had done dance class for many years together). However, by the first water break, it was clear that we had peaked at the stretching and that soccer wasn’t nearly the amount of fun it seemed it would be based on the signup sheet.
During that initial water break, I decided I didn’t want to be on the team after all and went back into my mom’s room. I never returned halfway through day 1 of a four-day tryout. My mom was horrified; the coach at the time, who constantly had friendly rivalries with my mom, was too mortified on her behalf to even give her crap about it.
Looking back now, with those lovely hindsight glasses, it is evident that I hadn’t developed a sense of GRIT and determination to stick out my commitment and learn to embrace a new sport.
As a classroom teacher, I’ve noticed that many students often need GRIT; without that, when the going gets tough, the tough tend to stop trying.
Today, I am introducing my favorite GRIT development activity to use with upper elementary students. You fit your entire body through an index card. You read that right—fitting your whole body through a singular index card. What’s even better about this activity is that it doubles as a tremendous community-building activity. One of our most significant resources in pushing through struggle is our peers to help encourage us and keep us focused.
Going into this activity, it’s important to note that the goal is for your students to experience frustration initially. In the end, you will teach them how to do it correctly, and it’s okay to tell them that in the beginning, but you will need to remain strong in not showing the “How to” part of the lesson until after the students have passed the initial stage of optimism and excitement, wallowed in the frustration and let down stage, and reignite their fire with determination with a hint or preview to get them started.
This activity works best if students can talk and move around the room while working. All devices must be turned off so students can quickly look up the directions and ruin the activity for the class.
Conversation between students is one of the highlights of working time. If you see your students stuck in a rut with conversations, highlight a student whose idea seems on the right track or provide a whole-class hint on how to approach the activity.
To allow optimum frustration, you must ensure enough index cards for the students to use. I never limited the number of cards they could access. However, it is with the understanding that to solve the activity correctly, only one card is used in the final product. Scissors are the only other school supplies allowed during work time. No glue, glue sticks, tape, or staples, as they aren’t needed and can cause quite a mess by aggravated students trying to figure out a tricky activity.
Now that we’ve reviewed the activity’s goals and game plan, I will share the steps to put your body through an index card successfully.
In this how-to, you will notice that my index card is larger than your traditional 3×5 dimensions. Historically, I’ve always used a 3×5 card with my students; however, when I went to create the visuals to support this blog post, I realized that I only had larger index cards on hand, so we’re being wise stewards of our possessions, and making use of the things we already have. This activity is 100% doable with 3×5 cards. I plan to use them precisely because they are less expensive, and your kids will blow through many cards trying to figure this challenge out. The larger index cards are a little easier to fit around larger bodies, like us adults. You have to be very ginger with the 3×5-sized cards.
Without further ado, let’s get started!
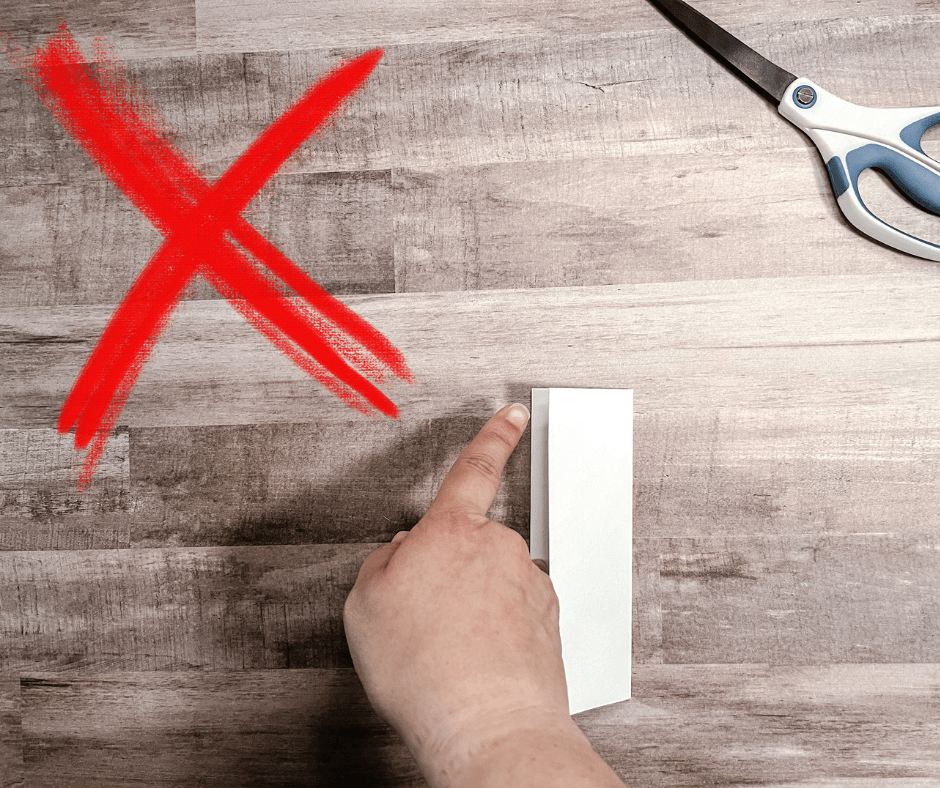
Step 1: Fold your index card in half long-way (like a hot dog).

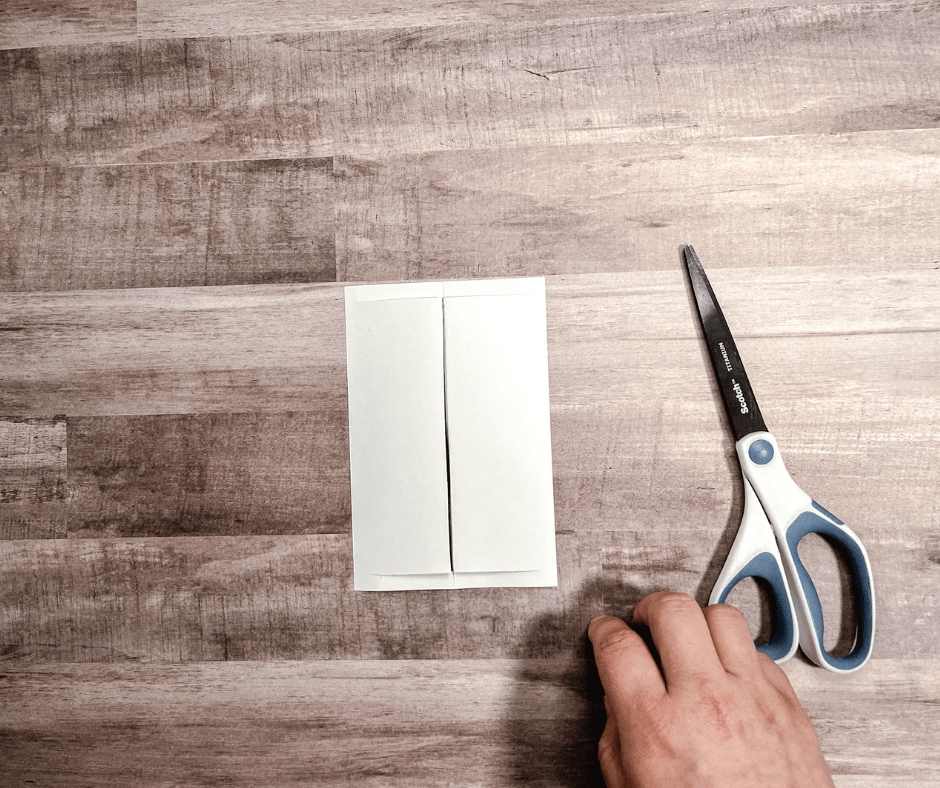
Step 2: You’ll make a cut starting on the creased side about a centimeter down from the top. This cut will go towards the other edge but will stop before actually cutting through. Be mindful that the closer to the edge you go, the bigger your finished product will be, but the weaker it will be because it will be closer to tearing.


Step 3: We’re going to make the same slit on the folded side across but not all the way to the other edge at the bottom of the cards. This time, you’ll start cutting about 1 centimeter above the bottom of the card.

Step 4: Once you have your cut at the top and bottom completed, it’s time to cut the folded space that’s in between those two slits. You’ll cut right up the creased portion (this is the opposite of the first two cuts).


Your index card should now look like a doorway with two flaps open like doors. If it doesn’t look like that, a mistake has been made somewhere, and you must restart.

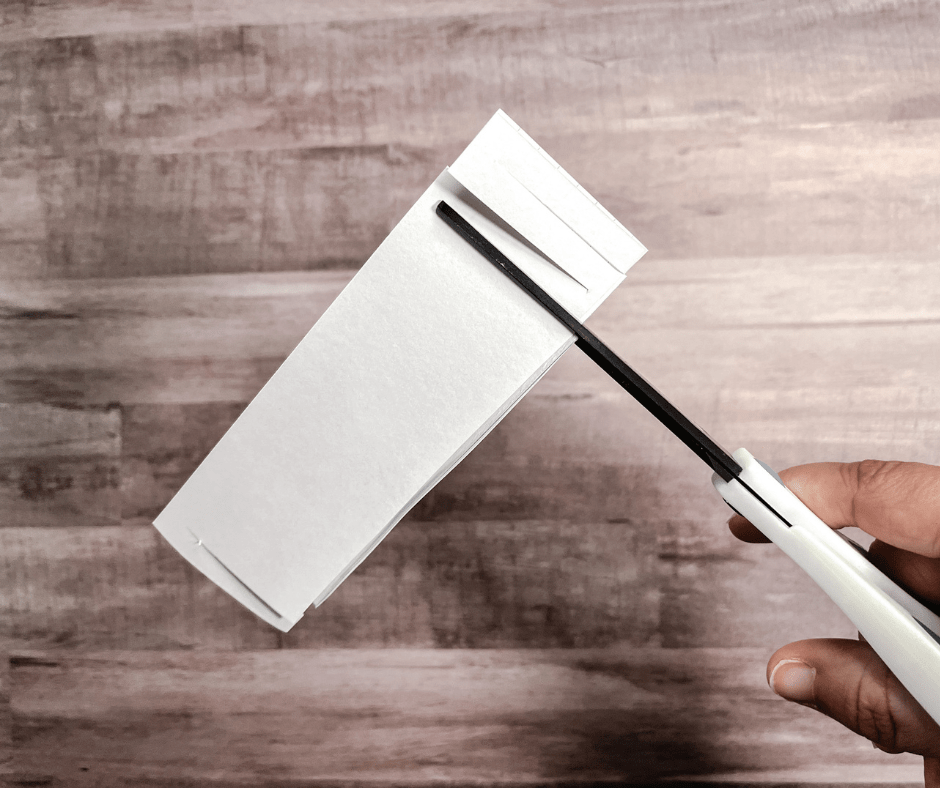
Step 5: Close up your index card so it’s all folded together long ways like a hotdog the way it did in the beginning. Initially, we made a slit at the top starting from the folded side towards the edge; this time, we are going to cut about 0.5-1 cm below the first line from the edge, going toward what had originally been the folded side. Once again, it’s essential to go close to the edge but not cut all the way through.

Step 6: You will make another cut 0.5-1 inch below the previous cut, this time going opposite (from the formerly folded side towards the open side like your first cut). You will continue this step down until you have reached the cut you made at the bottom of the index card.

Step 7: Now, open your index card and stretch out the paper. If you’ve done this correctly, it should form a stretchy paper ring that you can make larger by gently pulling on the edges. Please note that once it tears, it no longer works, so you have to hold it carefully, especially when trying to fit your entire body through it.


I know directions can be challenging to follow when written out, so I’ve also created a video version of these directions if you’d prefer to follow along that way. This video is designed to be shown directly to your students if you prefer the explanation come that way!
At the end of the activity, the most important part is going to be your conversation, where you help bridge the gap between the students’ emotional rollercoaster with the index card project and your expectations for them and build up their academic stamina and GRIT.
When it comes to schoolwork, there will be topics that we find frustrating and difficult to understand. It’s okay to feel frustrated, disappointed, or confused. What isn’t okay is to give up and not try our best. Ultimately, that feeling of satisfaction over getting something right that was once tricky can be extremely rewarding.
On a slightly different note, your students will be excited to show off their newfound skills to others. Planning to send an index card or two home with them will eliminate much chaos and begging on your student’s end. You may also need to limit the time scissors can be out for the rest of the day following this activity, as the temptation will be powerful for students to keep making their chains to practice the newly unlocked magic trick.
Let me know in the comments below if you’ve ever tried this activity or any other great GRIT-building activity. I’m always on the hunt for ways to motivate students to strengthen their perseverance and stamina.
Remember to join my email list so that you can be the first to know about upcoming posts. I’ll catch you next week!


Leave a comment