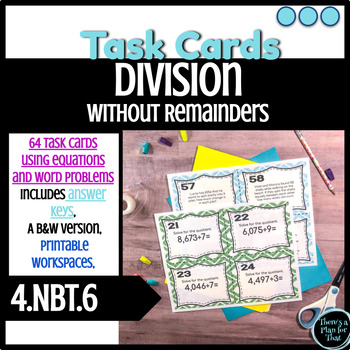
When I started teaching, I was the only new teacher on a team of more experienced teachers, and we planned our lessons out for the grade level each week. Now, team planning is a whole other discussion in and of itself; if you’re curious, feel free to subscribe to my email list so that you don’t miss my upcoming blog post, where I will be going on a dive deep into my thoughts and takeaways for the pro’s and con’s of team planning as well as how to make best it work for you! However, for the sake of brevity, this blog post focuses on one aspect of how team planning impacted beginning teacher-me, and it was using task cards!
My team enjoyed using task cards as a learning tool to help our scholars review things we had taught. And in theory, I liked them as well. The problem was my team’s go-to strategy for implementing task card usage was a whole class “Scoot.”
Traditional Scoot
If you’re unfamiliar with what a scoot is, essentially every student has an answer sheet recording their answers, and each desk gets a task card placed on it. Once the allotted work time for a card is up, each student would physically get up, switch to the next desk, and begin a work time on the next task card. Done well, this is an excellent application of task cards. Students are up and involved in movement, which helps keep their blood moving, brains focused, and engagement high.
The problem for me was first-year teacher Jessi needed help with classroom management. So, what went smoothly for my teammates was a train wreck for me. My kids couldn’t figure out where they moved to. They were getting up and moving all willy-nilly! Talking during work time, intentionally rushing to get to cards near friends, then fighting with each other about “cutting” in the rotation… It. Was. Bad. I found scoots to be very discouraging– and HATED task cards. Reflecting on this, I have seen traditional scoots can be fun if managed well. But for those of us who don’t have that management piece down yet, MANY other applications of task cards can allow you to benefit from the ease and simplicity of the cards without resentment!
Modified Scoot
One possible way to use task cards is a Modified Scoot. In this version of the activity, students do not move seats; task cards switch desks. For example, each person knows who they pass to (think the person sitting directly to the student’s right or left.) If the student doesn’t have a person next to them, you would specifically tell that student whom they would swap cards with. The more often you do this, the less instruction the activity will take in the very beginning. The students will learn to know who they switch their cards with because they will be with the same person every time they change. It’s still fun to allow students to interact with different cards, but it cuts out the madness and off-task time of the desk switching between card swaps that can ensue during a traditional Scoot.
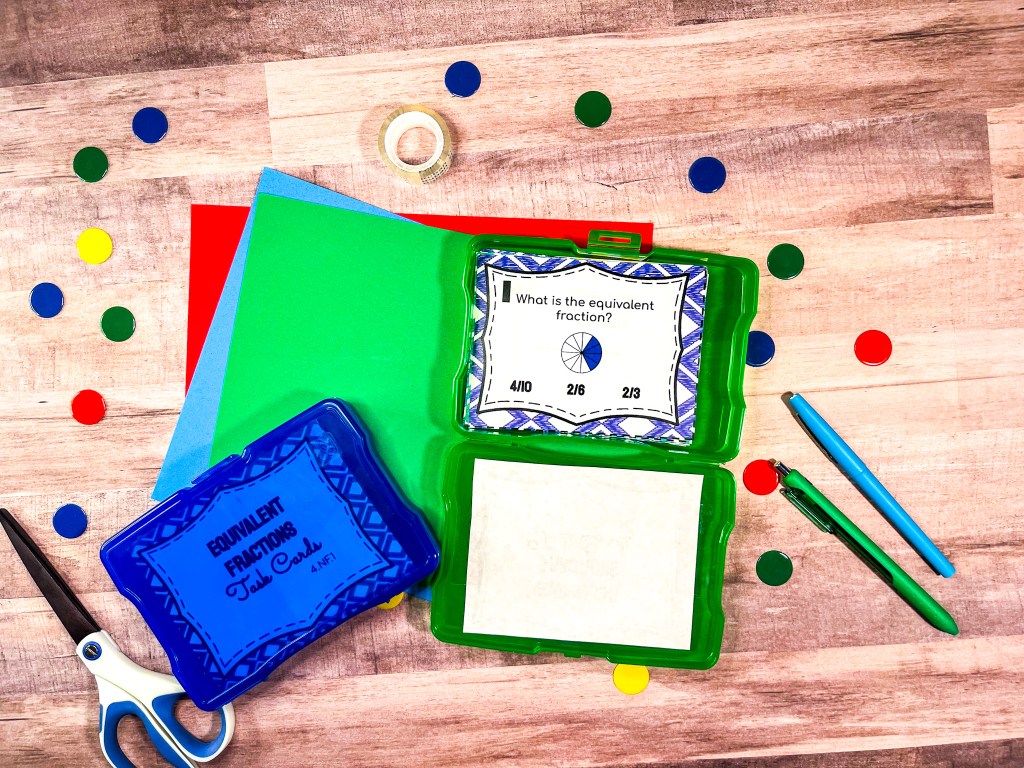
You could have the students solve all the problems on the workspace and then write their answers on the answer sheets to turn in at the end, or you could have the task cards laminated for students to mark with whiteboard markers to solve their work and erase when they are finished. Pro Tip- If you don’t have access to a laminator or the funds for lamination sheets, you can always use sandwich baggies in a pinch to allow the cards to be erasable and applicable with dry-erase markers!
Stationary Flash and Work
If you want to use task cards with even less movement and chaos, you can always have the flashcards put on the screen one at a time, and your students solve them on their worksheets and record the answers on their answer keys from their desks.
This strategy is a great one to keep in your back pocket for a time when you might be out of the classroom and have a sub taking over the classroom. Task cards make GREAT subwork– provided the movement expected is minimal. A student can collect the answer sheets, which the teacher can score at the end of the task card activity. They can also be used as data points to shape teacher small groups because you would be able to see what the students are understanding and which students are making common mistakes and have similar misconceptions.
Cards around the room
You can take task cards and tape them up around the room and allow students to solve the different problems as they move around the room. This approach is like a bigger-scale version of a traditional Scoot. It can be more chaotic if rules and procedures aren’t established beforehand!
What’s neat about an around-the-room task card activity is that the limitations of desk space don’t bind students, so this could be done as a partner activity. Setting up the expectations that only one pair of students can be at one card at a time can help reduce off-task behaviors during this activity.
It can also be helpful to have a couple of extra cards out than the number of pairs of students you have working. For example, if I have 15 pairs of students working on cards around the room, I would have put up 20 different task cards so that students don’t come to me during the end and say that there aren’t any open cards for them to write down the answers to that don’t already have a group at. (This can ensure you only have up to two people working on a task card at any given time.)
Centers- independent or partner accountability
If you’re using centers or workstations to occupy students while the teacher meets with a small group of kids, task cards can make a great station! What’s advantageous to using task cards is 1-routine. Students learn what to expect in that group and don’t waste their time teaching the directions for what they are doing in that center every day. 2- There is an ease in swapping out the cards, and it also can be straightforward to add differentiation with the cards because you could have several different versions or sets of task cards assigned to students. Using color-coded task card boxes (Or the colored sandwich baggies) can make it easy for the students to see which set they should work on for the week. For example, I always had Group 1 as my yellow bags and Group 2 as my blue bags, so each group knew what color they would look for at that different station.
Students at the task card station could work independently on the task cards. But they could also be working on them in pairs. If you had them set up in pairs, you could have the students each working on a different card, then swapping cards and using the answer key to check each other’s answers. If their answer were incorrect, then it would be the grader’s job to try and “reteach” or re-explain what the student would do in the future to find the correct answer for that type of problem.
Instructor-led small groups
You could also use task cards in a small group with a teacher or teacher’s assistant. Bring out whiteboards and have the students work through the task cards with you individually. This allows you as a teacher to pace your students, see directly what mistakes they are making, and correct them in real time. This is super helpful because it allows students to practice correctly how to solve things, not trying to apply corrections after the fact when they have incorrectly answered 20 task cards in a row and cemented those misconceptions. (like would happen with a more traditional whole class scoot.)
If you’re looking for ideas for storing task cards, photo holders can be super helpful for traditionally shaped task cards.
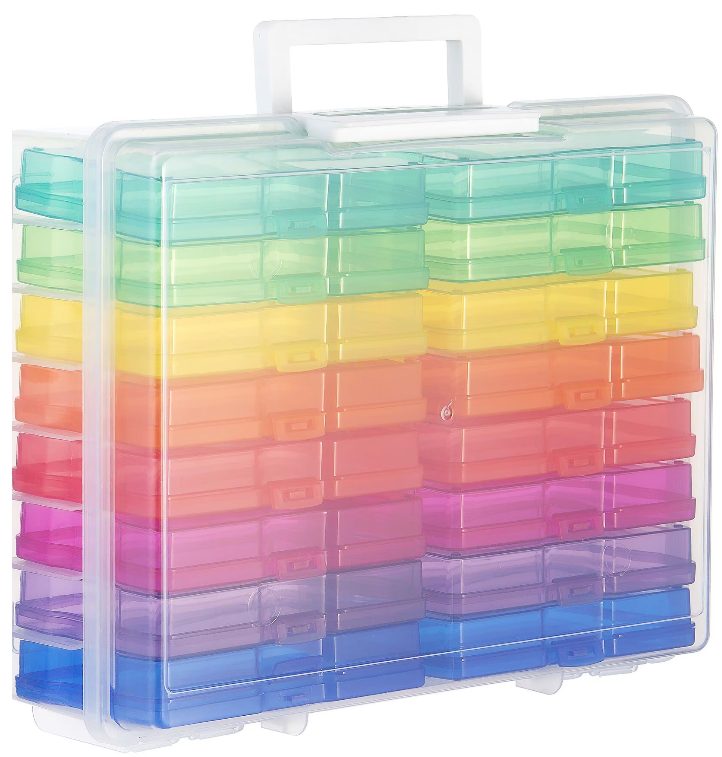
If you have any of the half-sheet-sized cards, these containers could also be a great space saver.

Please note this is one way you can organize your cards. Sandwich baggies are also helpful if you’re looking for a super cost-efficient option.
These ideas are the tip of the iceberg for ways to use task cards in your classroom! Hopefully, they help give you a good launching point for loving and utilizing task cards in your room. Now that you’re ready to use task cards in your room, feel free to head over to my tpt shop HERE and check out some of the task cards waiting for you!


Leave a comment