Preparing for my first classroom wasn’t just something I did; it was something I did with my entire family! From my sister helping me label books for my library, to my brother helping me set up cabinets, even my Nana helped me with my bulletin board display.
Let me tell you about this bulletin board display—it was a BEAUTY! I found my inspiration from a Pinterest post I had found online and sent it to my Nana, who created each piece of it by hand. She is so incredibly creative! Then she mailed all those pieces she painstakingly made in Texas all the way to my house in North Carolina so that my board would be perfect. I went with a Pac-Man theme and couldn’t wait for my students and parents to see it on Open House night.
Trying to assemble those pieces was a little rough; it took FOREVER, and I struggled to get the lines up straight. But once it was up, I was so proud.
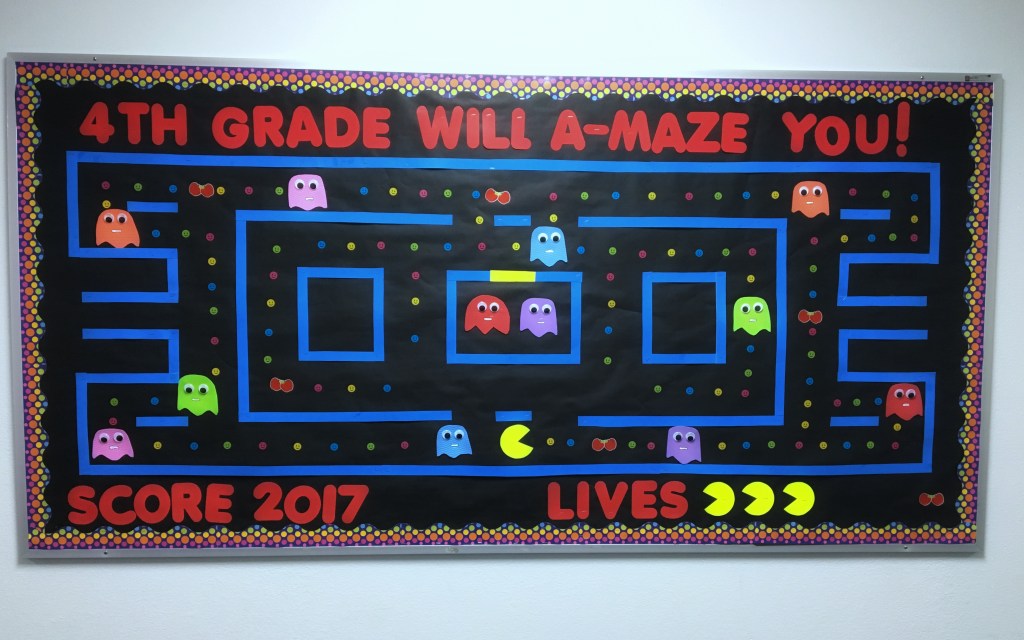
The problem came in September when I was told by my principal that I needed to change up my board for the new month and update it with student work. School had only begun 10 days ago. I was devastated—actual tears of frustration—because I now KNEW how much work needed to go into this board to make it so pretty. And the idea of having to do a brand-new set up and put student work on it just sounded completely overwhelming as I struggled to adjust to my first month as a classroom teacher. I honestly didn’t want to put up any student work. I just wanted to enjoy my Pac-Man.
Have you been there with me?
Take a moment and think about when you were a kid and had finished something well—so well that your teacher displayed it for everyone in the classroom to see. Do you remember that warm fuzzy feeling in your stomach? The pride that YOU had done something worth celebrating?
Well, our students feel that too!
It’s easy to lose sight of that in the current education climate. There are many pressures—to move at a quick pace, display quality anchor charts around the classroom, and have a ‘Pinterest Perfect’ room (you know, all the beautiful colors and matching decor). There are also added expectations for everything a teacher has to do in their day: grading, lesson plans, actual instruction, parent communication, managing student papers (if you’re needing tips on that, don’t worry I’ve already got you covered! You can read up on that blog post [here](insert link)).
All of this is to say, trying to find the time and space to display student work can feel extremely overwhelming. It is easy to let this fall to the wayside as you attempt to juggle all the other classroom expectations thrown your way.
Today I’m here with my favorite setup to help you set up and manage a bulletin board display with your student work. This will be especially helpful for departmentalized teachers, as that can be an added layer of frustration. How do you fairly show work from not just one class of students but from multiple?
The solution is to create designated areas on your bulletin board for each of the classes you have student work to display for. For example, I taught three different cores, so we kept everything simple and called them Core 1, Core 2, and Core 3. On my bulletin board, I set up three rows of spots to put up papers.
At the beginning of each row, I had a label so that any visitors looking at the boards could easily see which class the work belonged to. I also found that creating permanent placeholders for these papers was the magic, life-changing button to making a system that was easy to maintain.
Each “spot” on the board had a background paper that I had created to look cute and match the classroom theme. I printed these out on cardstock paper so that they would be sturdy and then laminated them. At the top of each of the laminated placeholder papers, I hot-glued a wooden clothespin to it. That way, every time I needed to put up a paper, I only needed to press the clothespin open and insert the paper. Then I was done!
To make things look more cohesive, I also added a bulletin border that matched the theme of my background placeholder papers up on the board. One pro tip that I’ve found, if you’re trying to make your classroom decor look cohesive on a major budget, is to use matching borders on all your boards in and out of your classroom. So, if you’ve found the perfect border, I would buy enough to do your entire room.
On the wall to the side of my board, I added one place to house a teacher’s example of the work that was being shown on the wall (set up with the laminated backgrounds and the wooden clothespins), and next to it, I also added a laminated background paper which was labeled for my I Can statement or Essential Question so that anyone passing by could easily identify what was being focused on during the assignment.
When it comes to actually putting up the work, it is important to remember that all students want to see their work displayed and get that warm fuzzy feeling. But often there is no way that you can show every student’s work at once on your board, especially if you’re a departmentalized teacher. I found that setting up my board by student number helped me keep track of who has been displayed and who hasn’t. Each month I would display 9 sets of student work from each of my three cores (that’s what fit on my board). So in August, I would have student numbers 1-9 displayed. In September, I would have a new assignment, but this time I would highlight numbers 10-18. And in October, I would have a third assignment to showcase, but would have displayed work from students number 19-17. And then I would continue that cycle, that way everyone would have a chance to be showcased.
If a student didn’t have the assignment turned in, or it was incomplete, or done completely incorrectly and it was their turn to have their paper on the board, I would have a conversation with them about it. Maybe they needed another paper to rework it, or perhaps they wanted to skip that rotation. To help keep myself consistent, I still rotated by the same set of numbers each month. So if student 7 didn’t have the assignment to be displayed in August, then they wouldn’t have that opportunity to see their work back up on the board until November. Otherwise, it became too difficult to manage whose papers were up when and for which class.
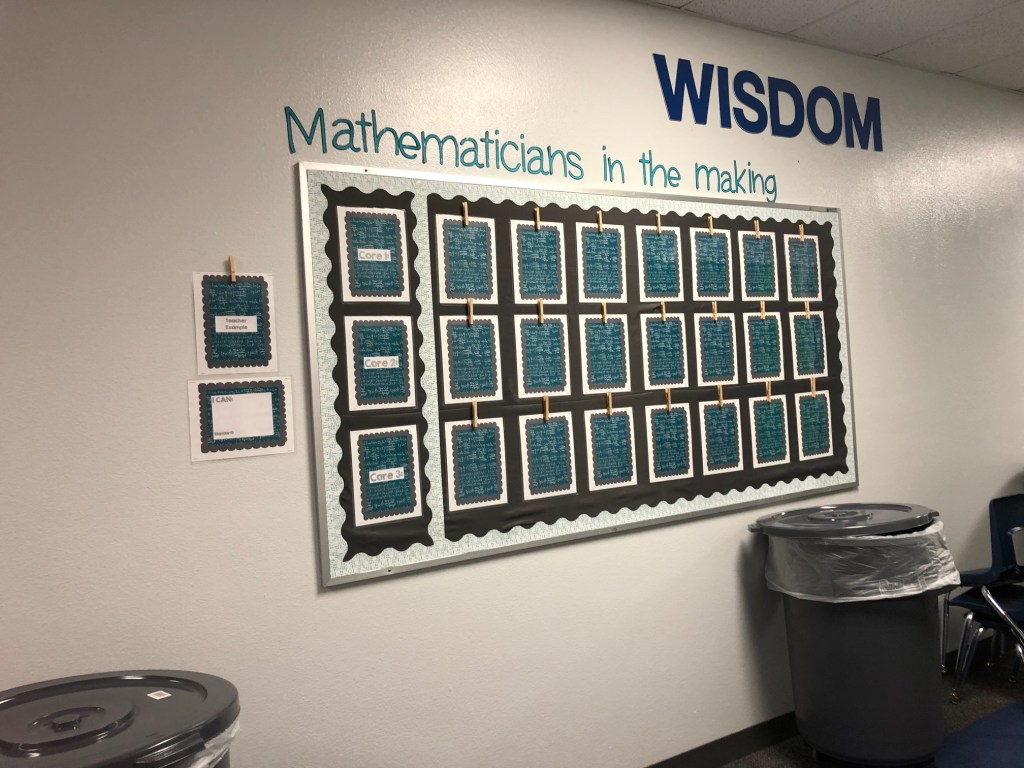
This is what my finished board setup looked like! For Open House night, I would simply add papers that said something to the tune of “Brilliant Student Work Coming soon!” and would add them to the placeholders so that the board didn’t seem incomplete. Then when it came to switching a board out, it was fast and easy, and every student in all of my classes was able to get their times to shine during the school year!
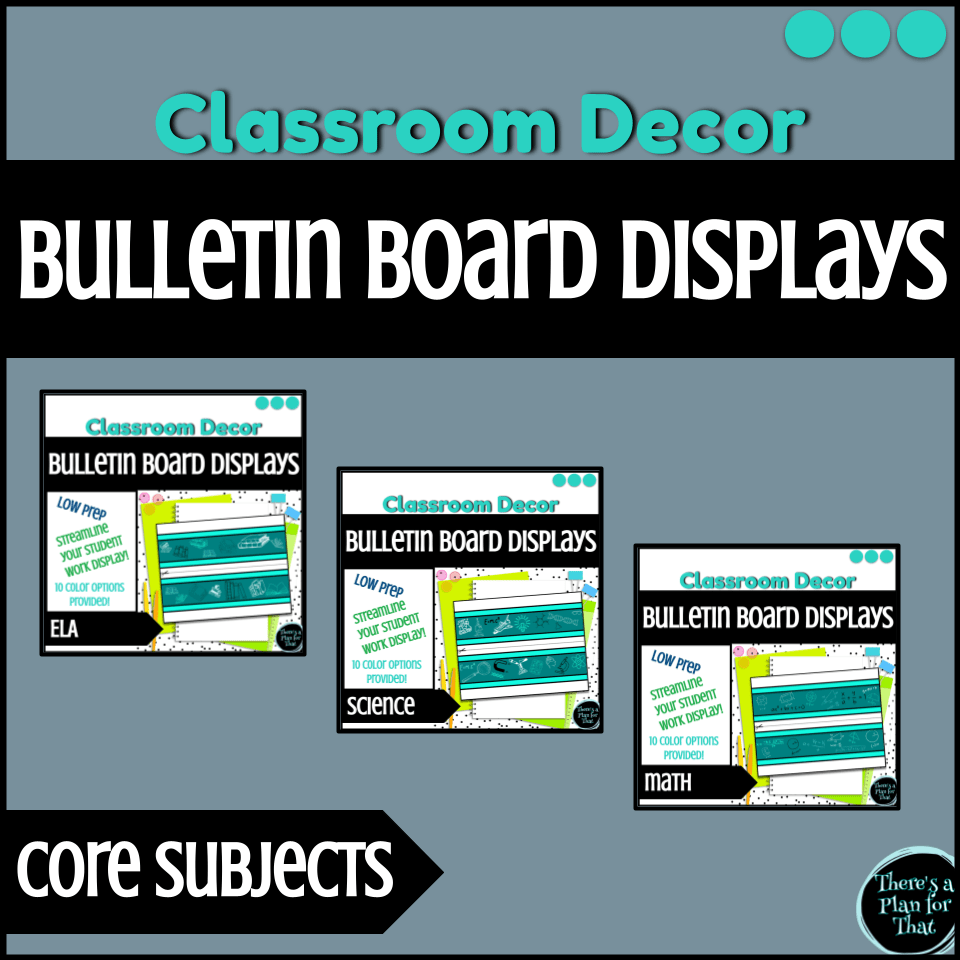
If this system sounds like something you’re interested in, I’ve got you covered! I’ve created a sample set of placeholder background papers, and matching bulletin board borders for you to download FREE today!

You can find this freebie in my Free Resource Library. Please note this is password-protected. Go ahead and join my email list to get your exclusive access to the password so you can grab that freebie and many more today!

P.S. If you are interested in the full product, you can come check it out here!

Leave a comment